
Your Guide to Latex Free Resistance Band Workouts
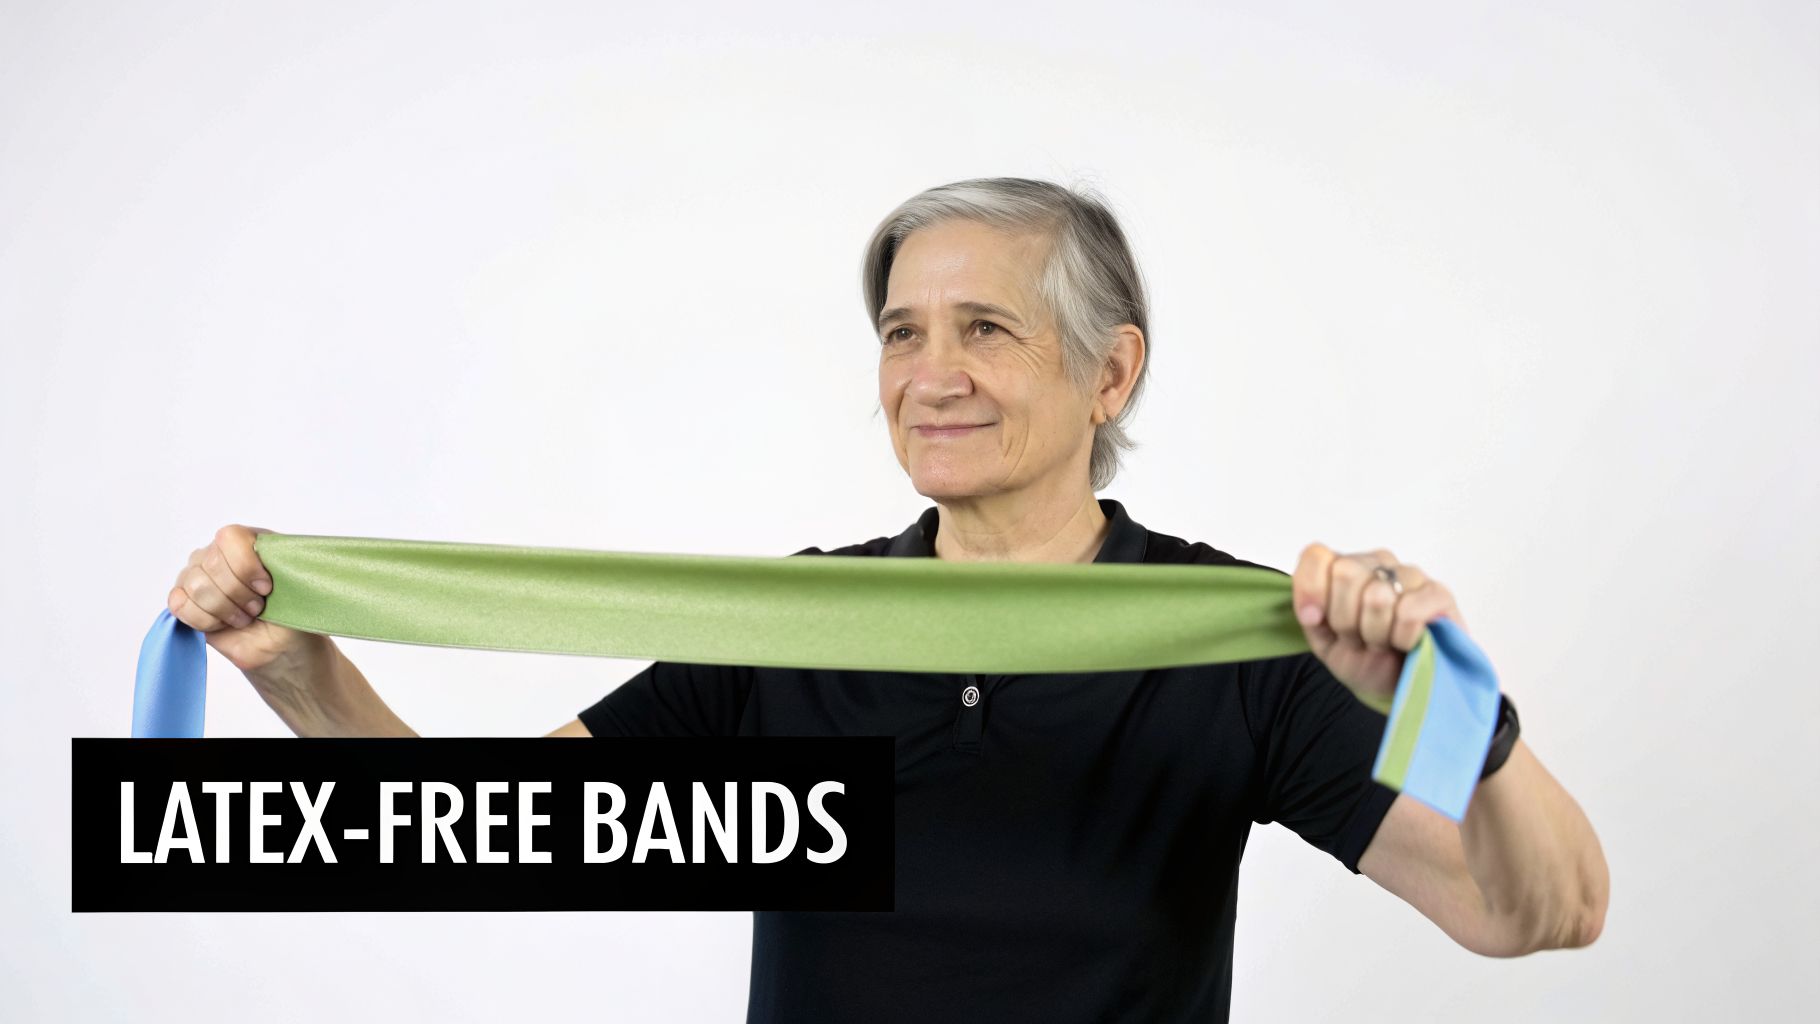
Think about a workout tool that’s strong enough to build muscle but gentle enough for sensitive skin or a clinical setting. That's the idea behind a latex-free resistance band. It's become an essential tool for just about everyone, from seniors working on their balance to athletes recovering from an injury.
Why Choose Latex Free Resistance Bands
When you’re starting a rehab or fitness plan, the equipment you use really matters. A latex-free resistance band isn’t just an accessory; it’s a smart choice for safety, comfort, and real results. These bands give you the same muscle-building tension as the old-school latex ones, but they get rid of the risks.
It’s kind of like choosing between a scratchy wool sweater and a soft cotton one. Both will keep you warm, but you know the cotton will feel a lot better, especially if your skin gets irritated easily. Latex-free bands give you that same superior comfort, which makes it much easier to stick with your therapy or workout routine.
The Clear Benefits of Going Latex Free
The most obvious reason to go latex-free is to avoid allergic reactions. While a true latex allergy only affects a small part of the population, the reactions can be serious, from a simple skin rash to something much worse. For a physical therapy clinic, hospital, or gym, using non-latex gear is an absolute must for safety.
But the advantages go way beyond just allergy prevention, which is why so many people are now choosing them for their home gyms, too.
Key advantages include:
- Enhanced Comfort: Materials like TPE (thermoplastic elastomer) feel much smoother. They’re less likely to grab at your skin or pull your hair while you exercise.
- No Unpleasant Odor: A lot of traditional latex bands have a really strong rubber smell that can be unpleasant. Latex-free versions are almost completely odorless.
- Improved Durability: Good non-latex bands hold up better against tears. They also don't break down as easily from sunlight or the natural oils on your skin, which often means they last longer if you take care of them.
- Versatility for All Users: They’re the perfect tool whether you’re in a delicate post-op recovery or you’re an athlete trying to add a little more intensity to your training.
Choosing a latex-free resistance band is more than just a preference. It’s a commitment to a safer, more comfortable, and more inclusive way to handle fitness and rehabilitation.
A Foundation for Safe and Effective Training
At the end of the day, the right equipment sets you up for success. It doesn’t matter if you’re coming back from an injury, managing a condition like arthritis, or just trying to build some functional strength—your tools should help you, not hold you back.
A quality latex-free band lets you keep your focus where it belongs: on your movement, your form, and your progress. This guide will walk you through everything you need to know to make these bands a true game-changer for your health and help you reach your goals.
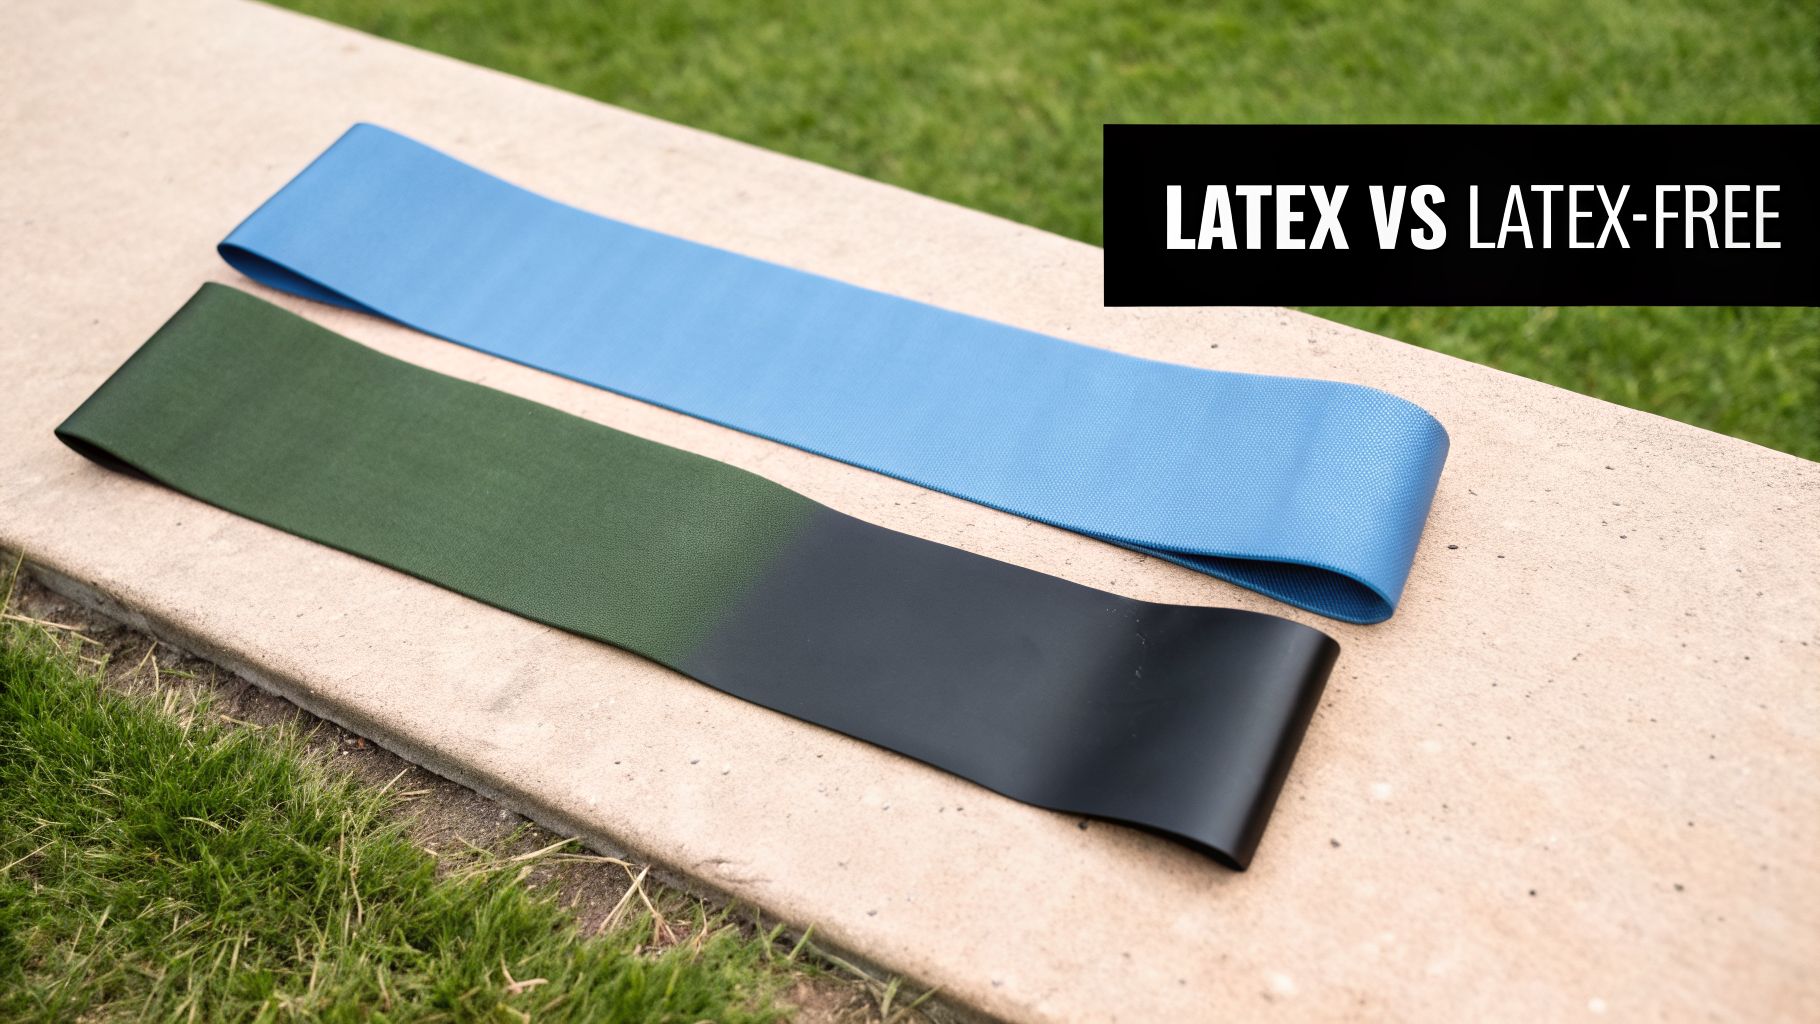
Understanding Latex vs Latex Free Bands
When you see a latex free resistance band, what’s the first thing you notice? It’s probably not what it’s made of, but how it feels. The real difference between latex and latex-free bands isn’t just about allergies—it’s about comfort, feel, and usability.
Think of it this way: you could wear a scratchy wool sweater or a soft cotton one. Both do the job, but one feels a lot better against your skin, and you’re more likely to wear it. The same is true for resistance bands. While traditional latex has been around forever, newer latex-free options, often made from thermoplastic elastomer (TPE) or soft woven fabric, completely change the experience.
The Material Difference and Why It Matters
Latex is a natural rubber, and while it’s very elastic, it has a signature tacky feel. This is why old-school bands can pinch your skin, pull at arm hair, and just feel unpleasant during a workout. And let’s not forget that distinct rubbery smell.
A latex free resistance band is different. TPE bands have a smooth, almost silky finish. Woven fabric bands are even softer and feel great against bare skin, especially for exercises like glute bridges or clamshells. This isn't just a small perk; if a band is more comfortable, you’re far more likely to stick with your rehab program.
Of course, the most important benefit is safety. For the 1-6% of the population with a latex allergy, this is non-negotiable. Latex-free bands eliminate the risk of an allergic reaction, from mild skin irritation to more serious issues. This is why you’ll almost always find them in professional clinics. The growing demand for these safer options is a major part of the industry's evolution, as you can see in research on resistance band market trends.
Comparing Your Options Side By Side
Beyond allergies, the band you choose impacts your workout. You need to consider durability, how it stretches, and how it feels in your hands. Traditional latex bands have been popular for their elasticity, but modern latex-free versions have caught up in performance while winning on comfort and safety.
Let's put them head-to-head so you can see the differences for yourself.
The best band is one you'll use consistently. Comfort, safety, and feel are just as important as the resistance level itself. Choosing a band that doesn't pinch, smell, or cause irritation removes major barriers to your success.
To make it simple, here’s a quick look at how the two types stack up.
Latex vs Latex Free Resistance Bands At a Glance
The table below breaks down the most important characteristics to help you decide what’s right for your body and your goals.
| Feature | Latex Bands | Latex-Free Bands (TPE/Fabric) |
|---|---|---|
| Material Feel | Can be tacky, sticky; may pinch skin | Smooth (TPE) or soft and woven (fabric) |
| Allergy Risk | High for sensitive individuals | Hypoallergenic; virtually zero risk |
| Odor | Often has a strong, distinct rubber smell | Odorless or very minimal scent |
| Durability | Prone to breaking down from oils and sunlight | Generally more resistant to oils and UV damage |
| Elasticity | Excellent "snap-back" and stretch | High-quality TPE mimics latex stretch well |
| Best Use Case | General strength training | Rehab, physical therapy, sensitive skin, home use |
At the end of the day, a latex free resistance band is simply a more user-friendly tool for most people. By getting rid of common complaints like skin pinching, bad smells, and allergy risks, they let you put all your focus where it belongs: on your movement, your form, and your recovery. This makes them a perfect choice for both clinical settings and anyone building a safe, effective exercise routine at home.
How to Select the Right Resistance Band for You
Choosing the right latex free resistance band can feel a bit overwhelming, but it's simpler than you think. The whole point is to match the band to your goal, whether you're gently rehabbing an injury or trying to build serious strength.
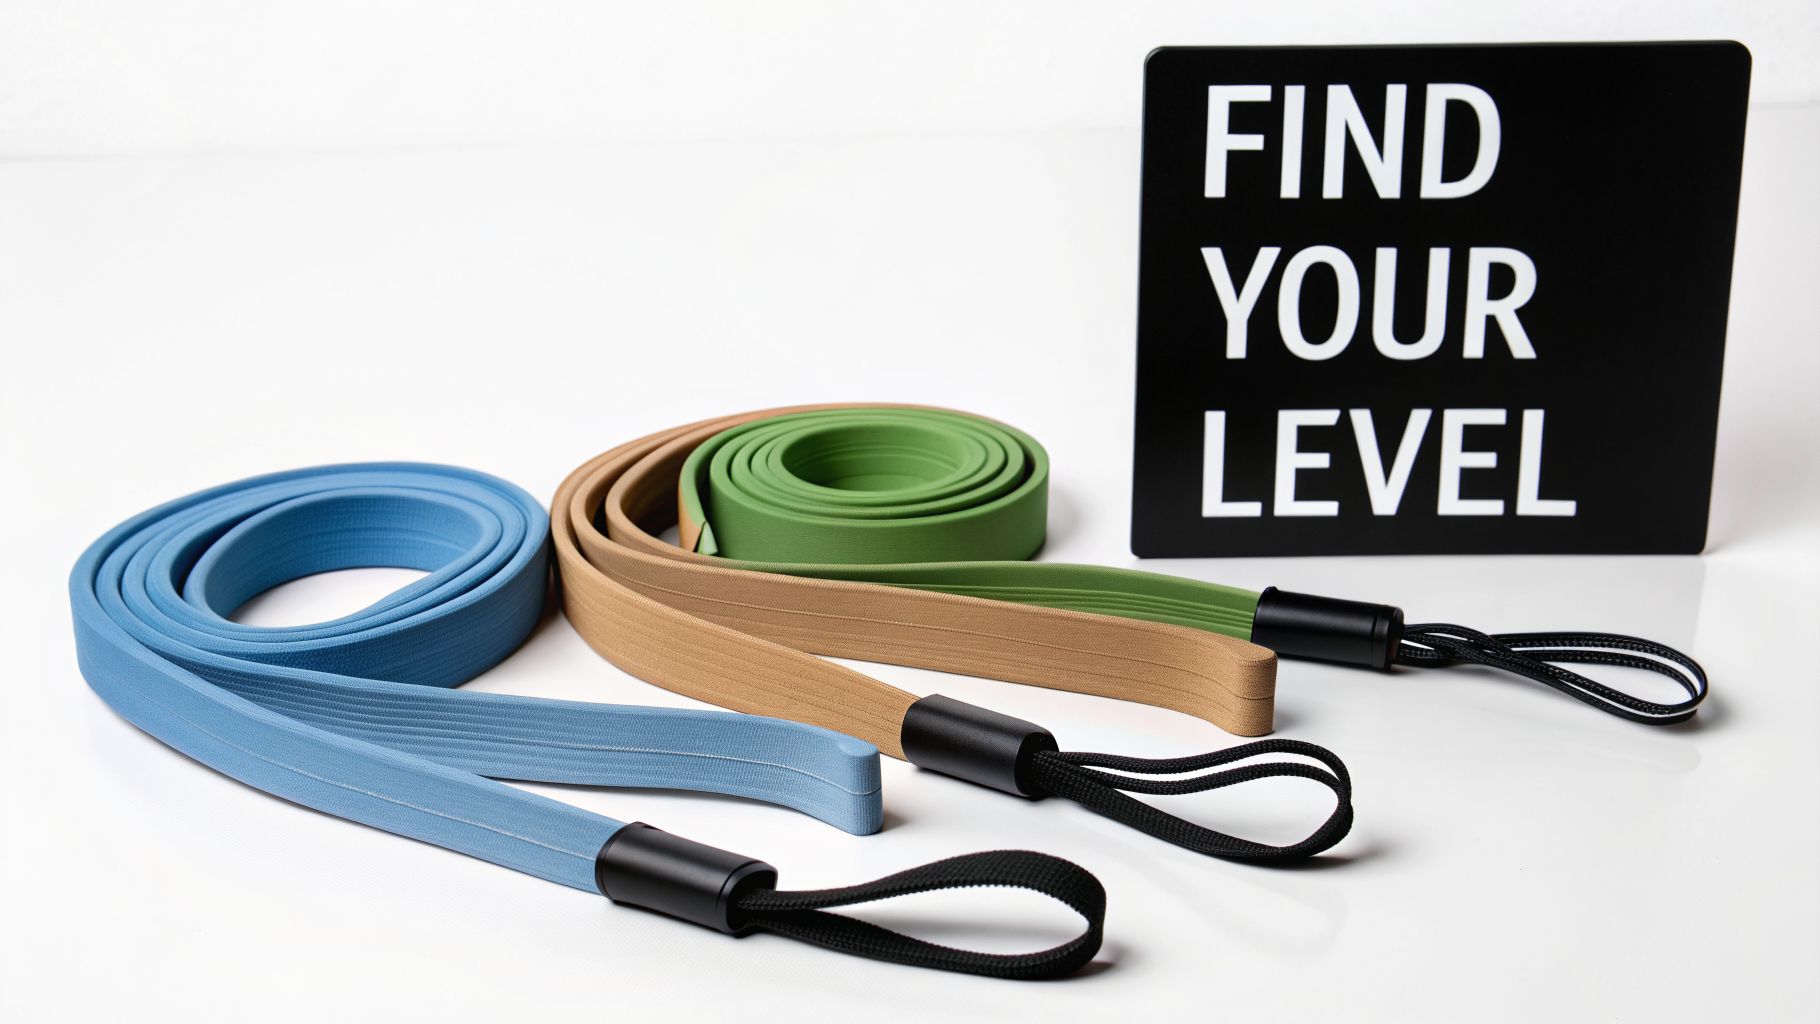
Think of it like the gears on a bike. You wouldn't try to start up a steep hill in the highest gear. In the same way, you shouldn’t start shoulder rehab with a super heavy band. While most bands are color-coded, the system can change from brand to brand. As a general rule, lighter colors (yellow, red) mean less resistance, and darker colors (blue, black, purple) offer a much tougher workout.
Finding Your Starting Resistance
Figuring out which resistance level to use is key for staying safe and actually making progress. The most common mistake we see is people grabbing a band that’s way too heavy. This almost always leads to bad form, which can set you back or even cause a new injury.
Here’s a simple guide to get you started:
Light Resistance (3-10 lbs): This is where most rehab begins. It’s perfect for waking up small, delicate muscles, like the ones in your rotator cuff or around your ankle. A physical therapist will almost always start you here in the early stages of recovery.
Medium Resistance (10-20 lbs): As you get stronger, you’ll graduate to medium bands. These are fantastic for general conditioning and for larger muscle groups that are still getting back to full strength.
Heavy to Extra-Heavy Resistance (20+ lbs): Save these for when you’re focused on building pure strength. They’re meant for big, powerful muscles like your glutes, quads, and back. An athlete might use a heavy band to add a challenge to squats or rows.
Your goal isn't to fight the band; it’s to control it. The right resistance challenges you through a full, smooth range of motion without making you cheat your form. If you’re straining or using jerky momentum, grab a lighter band.
This focus on the right challenge is a huge part of good physical therapy. For someone with arthritis or back pain, a light band providing 3-10 pounds of low-impact resistance is often the perfect tool for improving range of motion without causing a flare-up.
Matching the Band to Your Goal
It's not just about the color. The style of the band decides which exercises you can do. Having a couple of different types on hand opens up a whole world of exercises.
Let's look at the most common types of latex-free bands you'll see.
Flat Therapy Bands: These are just long, flat sheets of TPE. Because they aren't a closed loop, you can wrap them around your hands, feet, or a stable anchor point. We often use them for gentle shoulder rotations or ankle mobility drills with our senior patients. For a closer look at this kind of exercise, check out our guide on effective home exercises after rotator cuff surgery.
Loop Bands (Mini Bands): These are the small, closed-loop bands you often see made of fabric. They’re designed to go around your thighs, ankles, or wrists. The fabric ones are great because they don’t roll up or pinch your skin—perfect for lower body exercises like monster walks and clamshells that fire up your glutes.
Tube Bands with Handles: These look more like something you’d find at a gym, with handles attached to a TPE tube. The handles give you a secure grip for exercises that feel like using a weight machine, like bicep curls, chest presses, and rows.
Pull-Up Assist Bands: These are the really long, thick, heavy-duty loops. They’re famous for helping people build up to a pull-up, but they are also fantastic for total-body strength work when anchored to something sturdy.
Once you understand both the resistance level and the band type, you can confidently pick the perfect latex free resistance band for your body and your goals. It puts you in control of your progress, whether you’re coming back from an injury or just trying to get stronger.
Effective Exercises for Common Rehab Needs
Once you have the right latex free resistance band in hand, it's time to put it to good use. The real magic of these bands is how they let you zero in on specific muscles, helping to strengthen and re-educate them in a very controlled way. That’s what makes them such a go-to tool in rehab.
We're going to walk through some gentle but highly effective movements for common trouble spots. With every exercise, the key is slow, deliberate motion. You never want to fight the band; you want to control its tension through a full and smooth range of motion.
Strengthening Your Back and Core
A strong, stable core is the foundation for everything. It supports a healthy back and allows you to move without pain. These exercises are designed to wake up the deep stabilizing muscles that protect your spine.
1. Seated Row
This is a fantastic move for posture. It directly targets the muscles in your upper back that help you stand and sit taller.
Start by sitting on the floor with your legs straight out in front of you. Loop the middle of your band around the soles of your feet and hold an end in each hand, palms facing each other.
Keeping your back straight, pull the band toward your lower belly. As you pull, really focus on squeezing your shoulder blades together, like you're trying to pinch a pencil between them. Pause for a second at the peak of the squeeze before slowly letting your arms extend back to the start.
2. Bird-Dog with Band
The bird-dog is a classic for core stability. When you add a latex free resistance band, you challenge your glutes and shoulders to work that much harder to resist the pull and stay steady.
Get on your hands and knees in a tabletop position. Take a mini band and loop it around the arch of your right foot, holding the other end of the loop in your left hand.
Brace your core to keep your back perfectly flat. At the same time, extend your right leg straight behind you and your left arm straight out in front. Move slowly to prevent your hips from rocking or twisting. Return to the starting position with control, then switch sides.
Safety Cue: Imagine you have a glass of water balanced on your lower back. Your goal is to complete the entire movement without spilling a single drop. This helps you maintain a neutral spine and engage the right muscles.
Shoulder and Neck Relief
Much of the time, shoulder and neck pain comes from weak postural muscles. These movements help counteract the effects of daily slouching and strengthen the crucial muscles that support the shoulder joint. An over-the-door pulley is another great tool for this area; you can learn more in our article on how to use an over-the-door pulley exerciser.
3. Band Pull-Apart
This simple move is incredibly powerful for hitting the rhomboids and rear deltoids—two muscle groups essential for good posture.
Stand with your feet shoulder-width apart, holding a flat band with both hands. Stretch your arms straight out in front of you at shoulder height, with your hands about a foot apart.
Keeping your arms straight, pull the band apart by squeezing your shoulder blades together. Picture yourself trying to stretch the band across your chest. Be careful not to shrug your shoulders up toward your ears. All the work should come from your upper back.
4. External Rotation
This is a key exercise for strengthening the rotator cuff, the small group of muscles that keeps your shoulder stable and healthy.
Hold a light loop band or flat band between your hands. Bend your elbows to a 90-degree angle and tuck them right into your sides.
Keeping those elbows glued to your body, gently pull the band apart by rotating your forearms outward. You should feel the muscles in the back of your shoulder engage. Hold that for a moment before slowly coming back to the start.
Knee and Hip Stability
Strong hips are the key to happy knees. Pain often happens because the hips aren't strong enough to provide support. These exercises target the gluteus medius, a critical hip stabilizer on the side of your pelvis.
5. Clamshell
There's a reason the clamshell is a staple in physical therapy. It perfectly isolates the hip muscles that control how your knee aligns.
Lie on your side with your knees bent and stacked. Place a mini latex free resistance band around your thighs, just above your knees.
Keeping your feet touching, lift your top knee up toward the ceiling, opening your legs like a clamshell. Try not to rock your body backward. The movement should be small and controlled, coming only from your hip.
6. Monster Walk
This exercise is great for improving how you walk and for dynamically strengthening the muscles that move your hips sideways.
Put a mini band around your ankles or just above your knees. Stand with your feet hip-width apart and lower yourself into a slight squat.
Take a wide step diagonally forward and to the right with your right foot. Follow with your left foot, always keeping tension on the band. Keep alternating steps as you move forward like a monster, then reverse the pattern and walk backward to where you started.
Senior Balance and Gait Training
For seniors, maintaining balance is everything—it’s the key to preventing falls and staying independent. These gentle exercises use light resistance to improve stability and confidence. Their versatility is part of why home fitness tools are so popular, with studies confirming that elastic bands can produce strength gains comparable to conventional weights. You can explore more on this market growth by reading the full research on Grand View Research.
7. Banded Side Steps
This move strengthens the muscles you need for side-to-side stability, which is vital for preventing trips and falls.
Place a light mini band around your ankles. Stand with your feet together, holding onto a sturdy chair or countertop for support.
Take a controlled step to the side with one foot, stretching the band. Slowly bring your other foot over to meet it. Try to take 10 steps in one direction, then 10 steps back. Focus on staying upright and not leaning into the movement.
8. Standing Leg Raises
Leg raises challenge your balance while also strengthening your hip muscles.
Stand up tall next to a support you can hold onto. Place a light mini band around your ankles.
Shift your weight to one leg. Keeping your other leg straight, slowly lift it forward against the band. Then, lower it down and lift it out to the side. Finally, lower it again and lift it straight back, giving your glute a little squeeze. Repeat the full sequence on the other leg.
How to Care for Your Resistance Bands

Think of your resistance band like any other piece of quality rehab equipment. A little bit of care goes a long way, not just to make it last, but to keep you safe. Taking care of your latex free resistance band ensures it keeps its stretch and provides the steady, reliable tension you need for effective rehab.
The good news is, it’s simple. These small habits take just a few moments but make a huge difference in how long your bands last and how well they perform.
Proper Cleaning for Longevity
Over time, sweat, dust, and body oils can start to break down the band’s material. Keeping them clean is incredibly easy and doesn't require any special or harsh chemicals.
For a standard TPE latex free resistance band, just wipe it down with a damp cloth. If it needs a bit more attention, use a drop of mild soap in warm water, then wipe it again with a clean, damp cloth to get rid of any soap residue. Always let it air dry completely before putting it away.
You can hand-wash fabric bands in the sink using cool water and a gentle detergent. Rinse them well, and then just hang them up to air dry. Never, ever put them in a washing machine or dryer—the heat and tumbling will destroy their elasticity for good.
The most important rule for all bands is to avoid harsh chemicals and direct sunlight. Solvents, chemical cleaners, and UV rays are the fastest ways to make the material brittle and likely to snap.
Smart Storage and Routine Inspections
How you store your bands matters just as much as how you clean them. The main goal here is to protect them from anything that could cause physical stress or damage.
Storage Best Practices:
- Keep Them Cool and Dry: Tuck your bands away in a drawer, hang them on a smooth hook, or keep them in a gym bag. The key is to keep them out of direct sunlight and away from extreme heat. A hot car is one of the worst spots for a band.
- Avoid Sharp Objects: Pay attention to where you hang or store them. Even a small, sharp edge on a piece of furniture can create a tiny nick that can turn into a full-blown tear.
Make a habit of giving your band a quick check before every single use. Run your fingers along the entire length of the band, feeling for any small nicks, cuts, or spots that feel unusually thin. A tiny tear you find today could prevent a sudden snap during an exercise tomorrow. If you spot any damage at all, it's time to retire that band and get a new one.
Your Questions About Latex-Free Bands, Answered
If you’re curious about using latex-free bands, you're not alone. We get questions all the time about how to use them, which ones to choose, and what they can really do.
Let’s clear up some of the most common questions we hear from patients and get you the answers you need.
Can I Build Serious Muscle with Only Latex-Free Resistance Bands?
Yes, you absolutely can. It’s a common myth that bands are only for light stretching or early-stage rehab. The truth is, they come in a huge range of resistance levels, with some offering over 150 pounds of tension.
The key is the same principle we use with weights: progressive overload. As an exercise gets easier, you simply move to a stronger band or add more reps. This constant challenge is what tells your muscles to adapt and grow stronger. Studies have shown that you can build strength and muscle just as effectively with bands as you can with free weights.
Are Fabric Latex-Free Bands Better Than TPE Bands?
One isn't "better" than the other—they just have different jobs. The right choice really comes down to the specific exercise you’re doing.
- TPE (Thermoplastic Elastomer) Bands: These are the smooth, stretchy bands that feel most like traditional latex. Their versatility makes them perfect for most physical therapy movements, especially for upper body exercises like shoulder rotations and rows.
- Fabric Bands: These bands are wider and feel much more substantial. Their biggest advantage is that they don’t roll or slide up your legs. This makes them a favorite for lower body work like squats, hip thrusts, and glute bridges. Many people also find the fabric is more comfortable on bare skin.
Honestly, it’s great to have both. You might use a smooth TPE band for your shoulder work and then grab a sturdy fabric one for your hip exercises in the same session.
How Often Should I Replace My Latex-Free Resistance Band?
There’s no magic expiration date. A band’s lifespan completely depends on how often you use it and how you take care of it. The single most important habit is to give your band a quick check before every single use.
Look for any small nicks, tears, or spots that look worn or thin. Run your fingers along the band to feel for any rough patches or changes in texture. If you find any damage at all, it's time to replace it. A weak spot is a sign the band could snap, so it’s not worth the risk. Storing it away from direct sunlight and sharp objects will make it last much longer.
Are These Bands Safe for Seniors with Arthritis?
Yes, they are an excellent tool for anyone managing arthritis, especially seniors. A latex-free resistance band offers smooth, consistent tension that strengthens the muscles around a joint without the jarring impact of heavy weights. You can find more information by checking out the frequently asked questions on our website.
For someone with arthritis, this means you can build supportive strength without causing more pain or inflammation. Lighter bands are fantastic for improving joint mobility, easing stiffness, and building the stability needed for better balance—all key parts of managing arthritis and preventing falls.